
How to Install Python
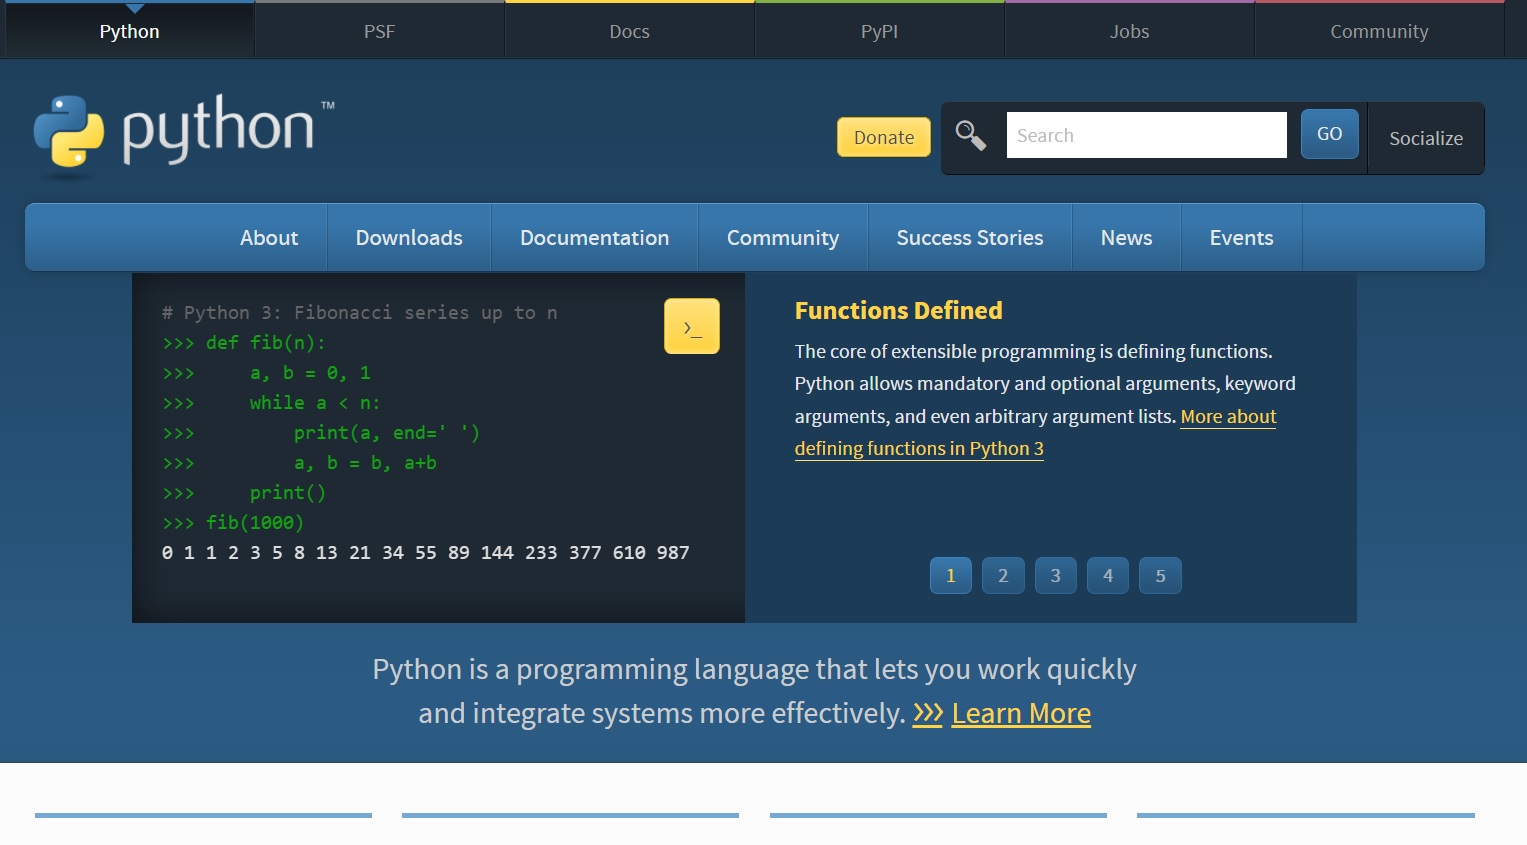
Python is a very popular programming language that can be used for research but also to create several typologies of applications or project. There are several ways to install Python, we will discuss 3 possible ways. This section will describe the main way which is by using the main website www.python.org. The link will open the page shown in Figure 1.
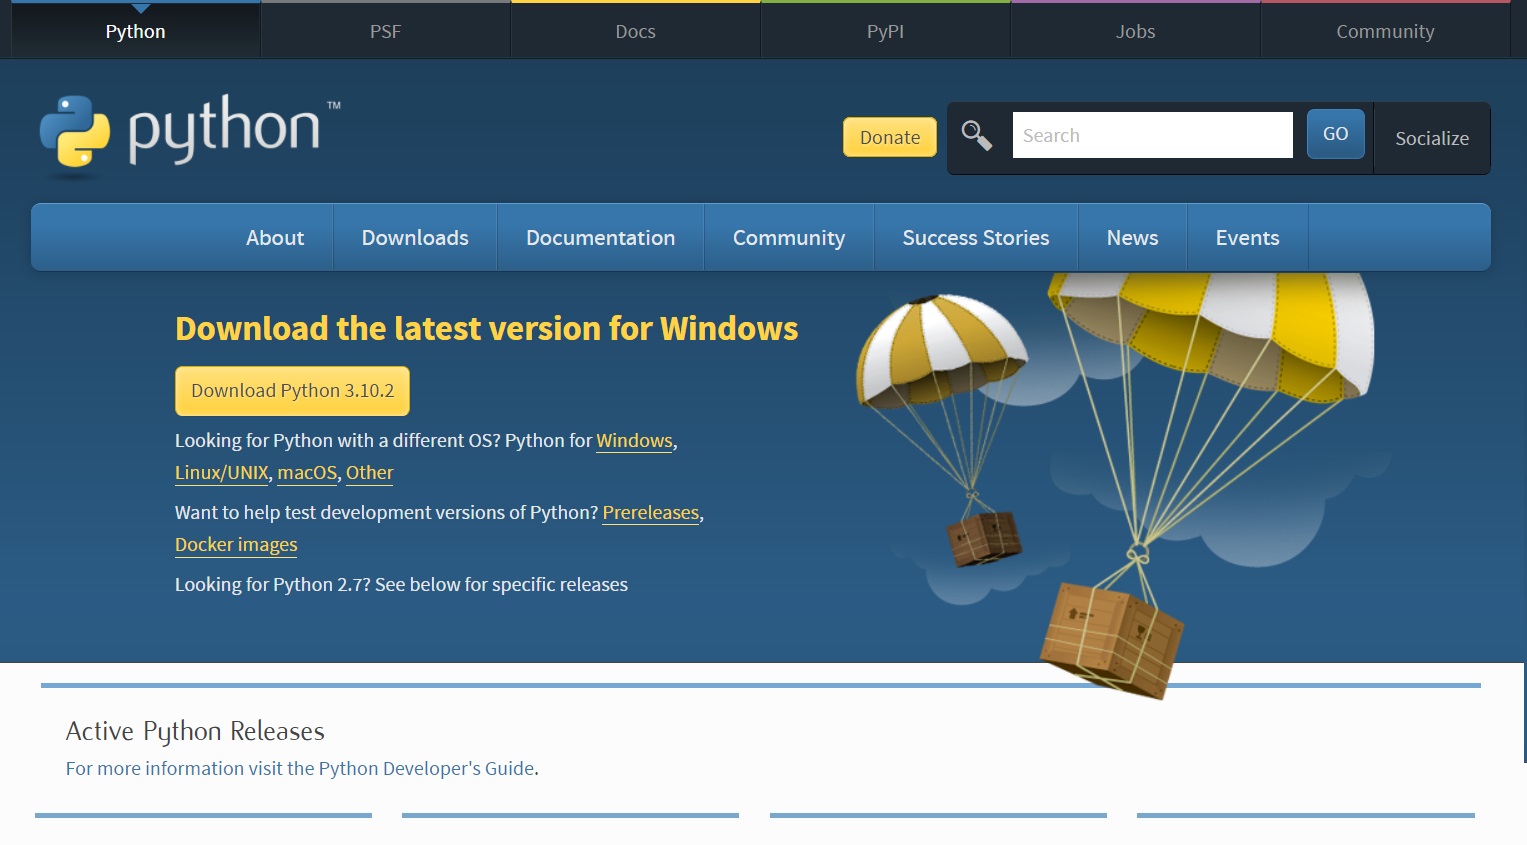
The next step is to click on "Downloads" and then click the Yellow button (as shown in Figure 2) which will download the installer for Windows 64-bit of the latest version or, by scrolling down the page, it is possible also to install previous versions of Python in case a specific version is required. This page contains various installers for Windows, Linux and macOS and then the user needs to choose between the 32-bit and the 64-bit version. All the recent computers are now 64-bit so it is simply a matter of selecting the appropriate Operative System.
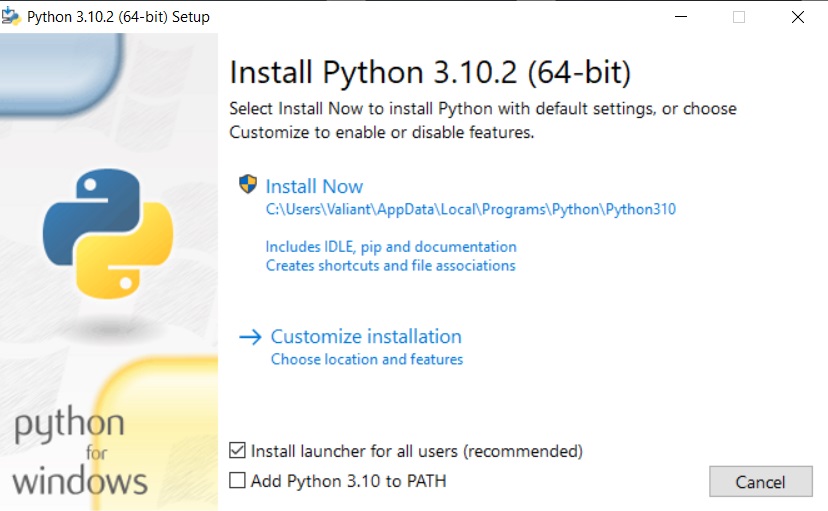
Once is downloaded click on the installer and a window like the one in Figure 3 will appear. Here you can choose if it needs to be installed in a default path and with default settings or you can customize the installation and the features. If you are not expert then leave everything with default values and start the installation.
After this is done you can test that Python is installed by opening the Command Prompt of Windows and then write "python", as shown in Figure 4, and it should be able to run Python Interpreter. Note that the image shows Python version 3.8.5 because it is the one installed in my system, you will see the number of the version that you have downloaded.

The next step is to install an IDE (Integrated Development Environment) which is the environment to write scripts which then can be run in Python. There are several IDEs and two of the most famous are Spyder and PyCharm:
- To install Spyder, you can find an installation guide on their official page Here.
- To install PyCharm, you can find an installation guide on their official page Here. It is worth mentioning that in the case of PyCharm it can now install automatically the Python Interpreter if an existing installation is not detected
As mentioned at the beginning this is not the only possible way to install Python. Check the next section below to install it via Anaconda.
Python with Anaconda
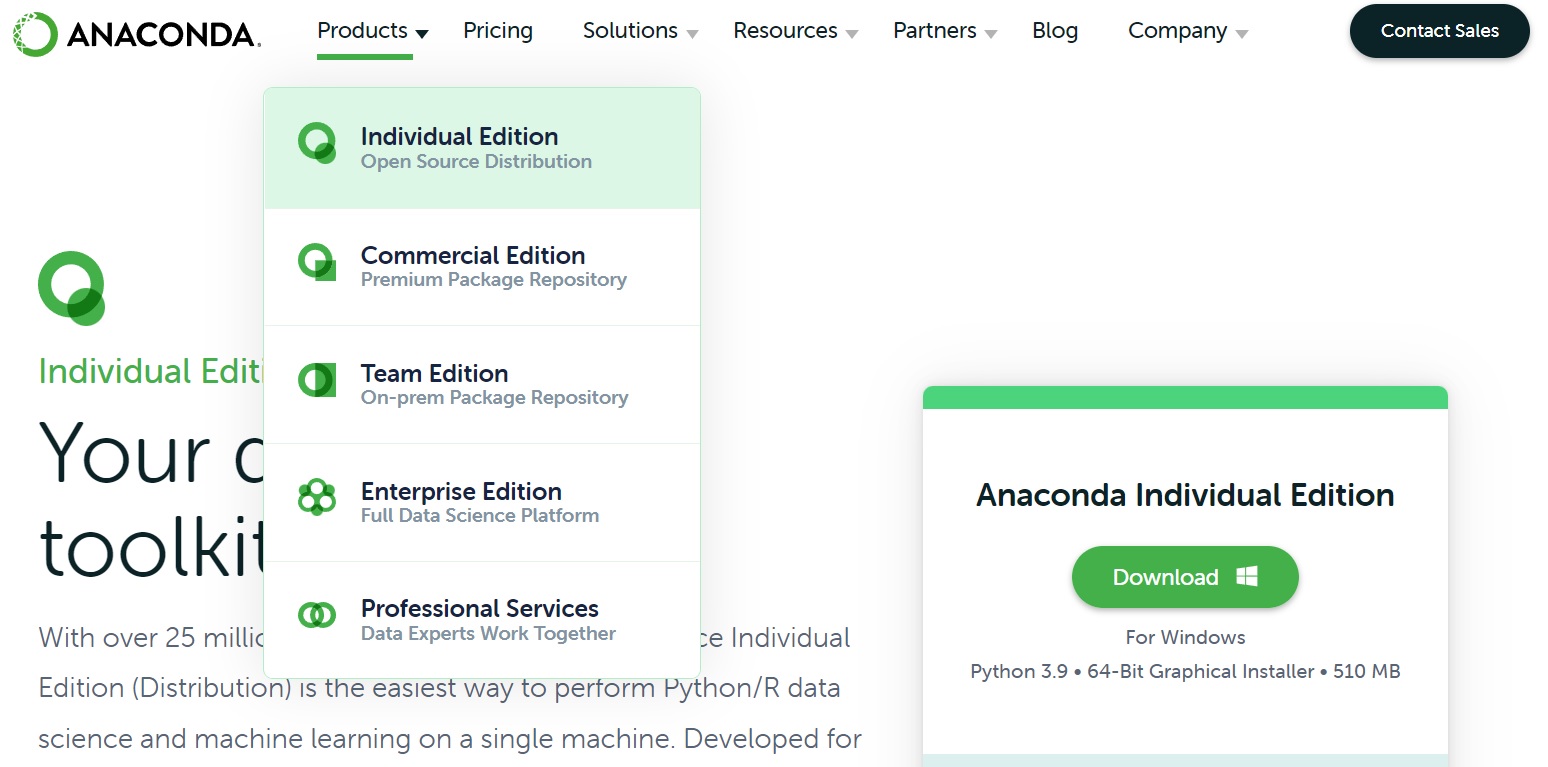
Anaconda is a distribution which installs Python with already many pre-installed libraries typically used by researchers and data scientists and then, within the Anaconda Navigator, it is possible to Install (and then Launch) the Spyder IDE and PyCharm IDE. In practice, by installing Anaconda you have everything you need to start programming in Python. The first step is to go to the Anaconda Official Page https://www.anaconda.com/. The next step is to click on "Products" and then on "Individual Edition", at this point there is a "Download" button as shown in Figure 5.
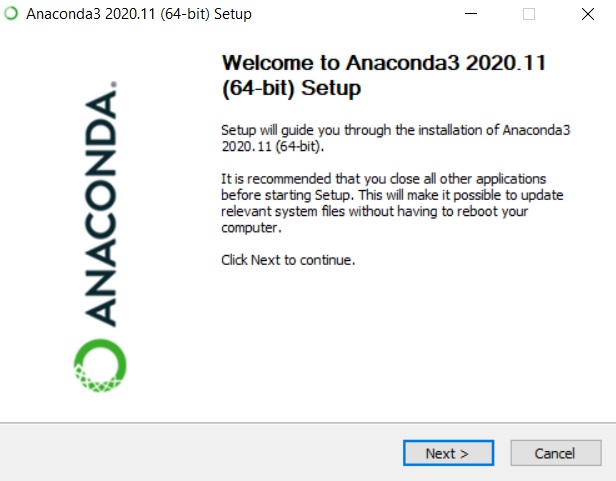
Run the executable file and a window, like the one shown in Figure 6, will appear. Follow the steps and if you are not an expert use the default settings.
After that the installation is completed, open the Anaconda Navigator and a window similar to the one shown in Figure 7 will appear.

Here you can find both Spyder IDE and PyCharm IDE. If it is not yet installed press the button "Install", if it is installed you can use it by pressing "Launch". In my case Spyder IDE is already installed and if I launch it the environment will open, as shown in Figure 8.
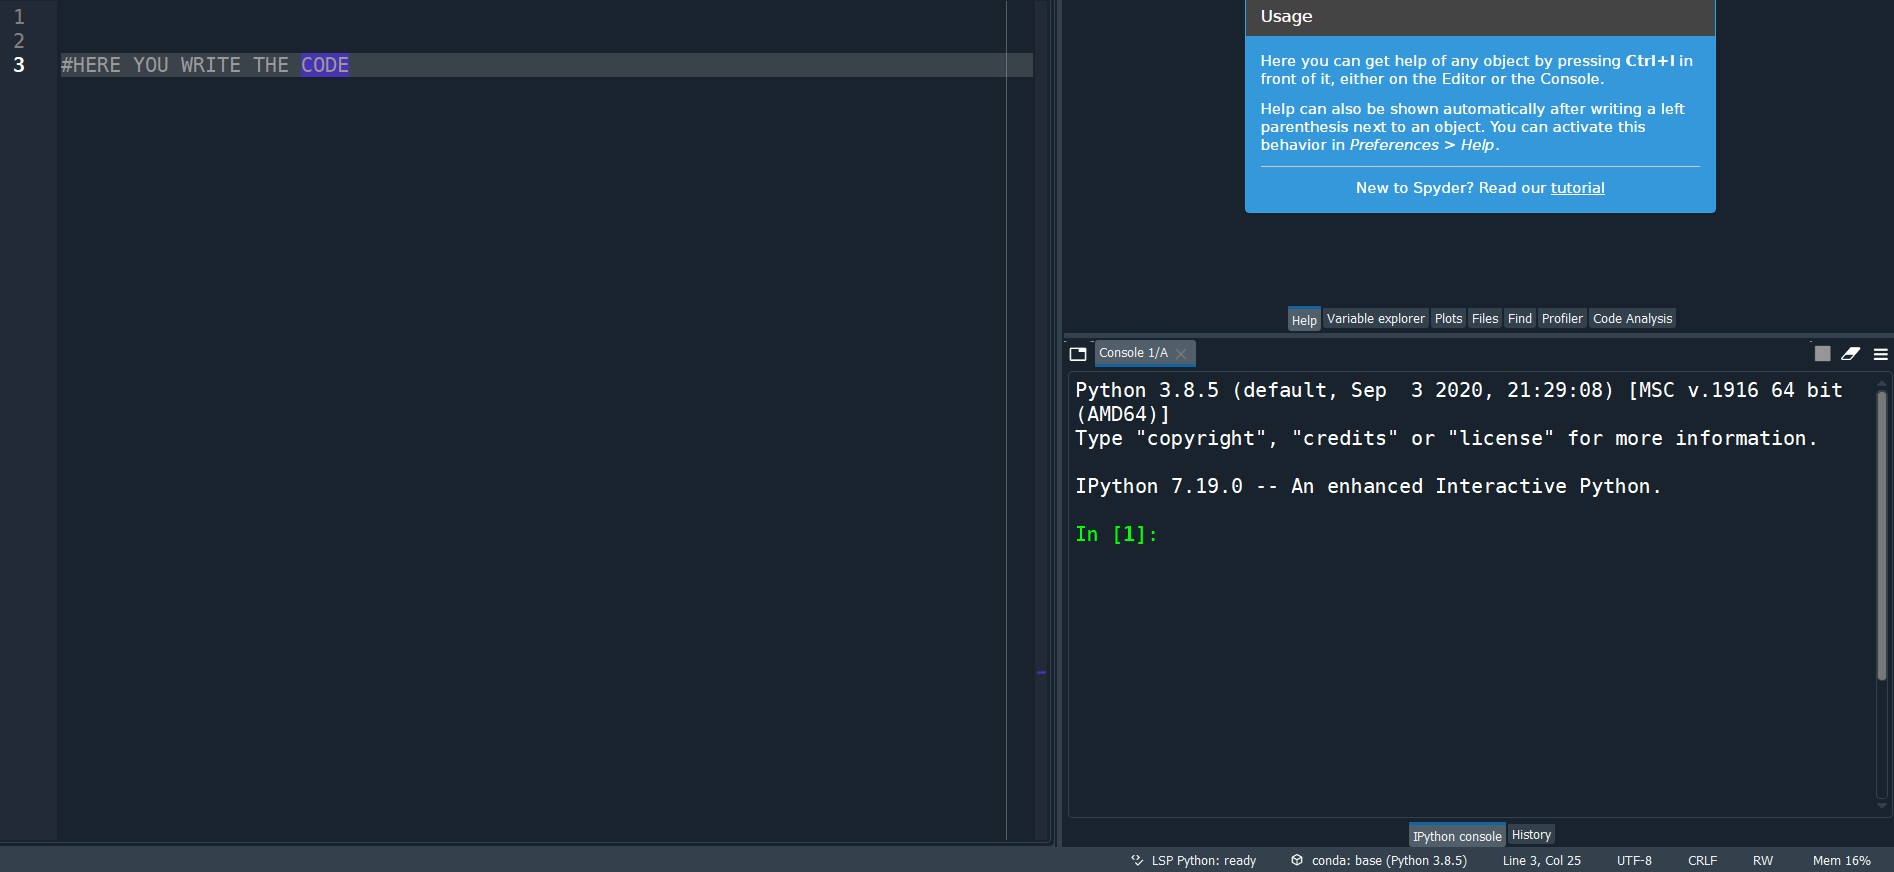
Now you can write in the Console on the right, similarly to what we were doing before from the Command Prompt, or write a script on the left. Anaconda in not the only distribution available, you can find a list of Python Distributions Here. In the next section we will describe the use of WinPython which does not need to be installed.
Python with WinPython
WinPython is an interesting Python distribution because it is portable which means that you do not need to install anything on your computer and this is especially good for people that want to just give it a try. It also includes the Spyder IDE. The first step is to go to the official WinPython Page https://winpython.github.io, shown in Figure 9.
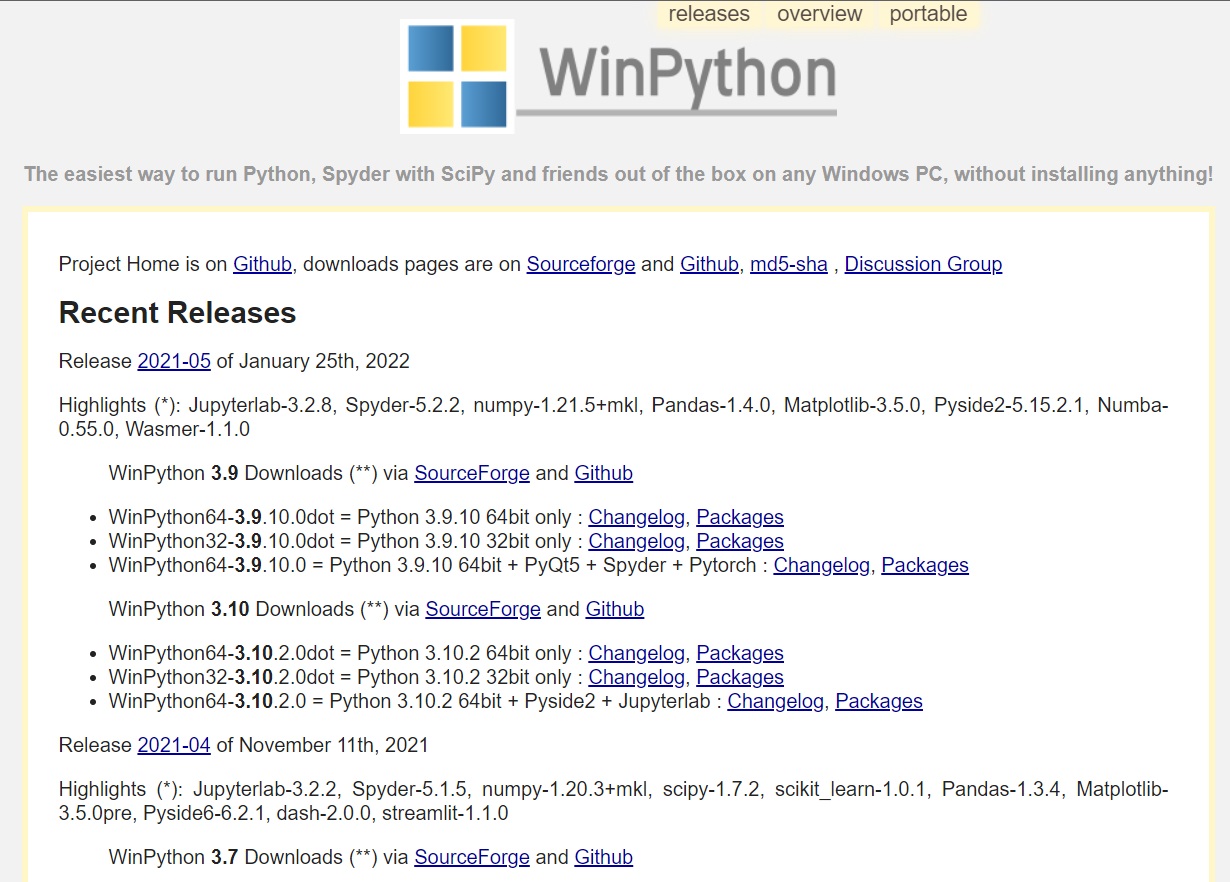
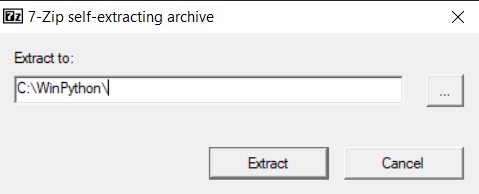
Now, Python continuosly evolves but for beginners any version between 3.7 and 3.10 is fine and does not make much difference. You should just make sure that the version that you download has Spyder in it: in the picture for example one of these versions is "Python 3.9.10 64bit + PyQt5 + Spyder + Pytorch". Click on "SourceForge" and then download the executable file, for example "Winpython64-3.10.2.0.exe". This is an executable file which only needs to know in which folder WinPython needs to be extracted, as shown in Figure 10. As mentioned before, this is not an installation: you can later change the location of WinPython given that it is not installed but just extracted to a specific location.
Once the extraction is complete go inside the folder and click on Spyder and the environment will load. Here you have everything you need to start programming in Python. I have made also a video on my official Youtube Channel which shows all the steps to use Spyder from WinPython and create your first program, you can find it below.