How to use a Breadboard
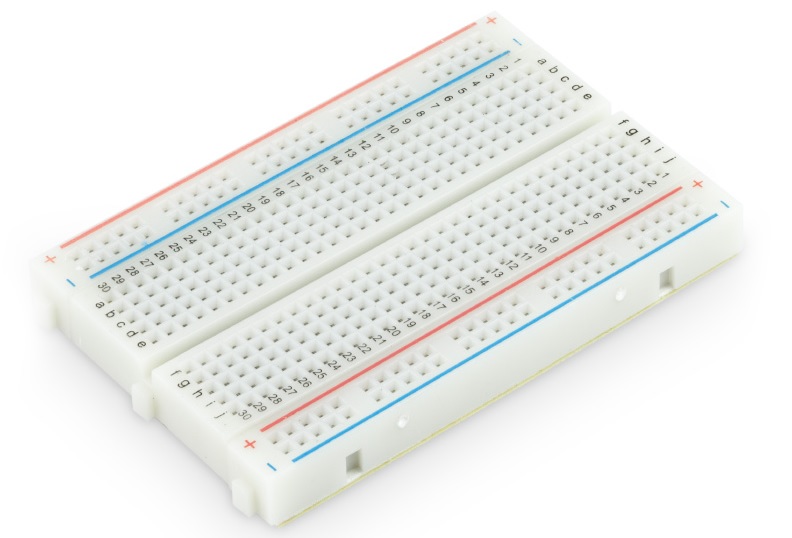
Breadboards are very useful tools in electronics because they allow to create prototypes of circuits without the need of soldering components, in this way it is possible to improve the design before finalizing it and solder all the components. The breadboard, as shown in Figure 1, is a board with many holes were it is possible to insert electronic components like resistors, capacitors, pins of microcontrollers and so on.
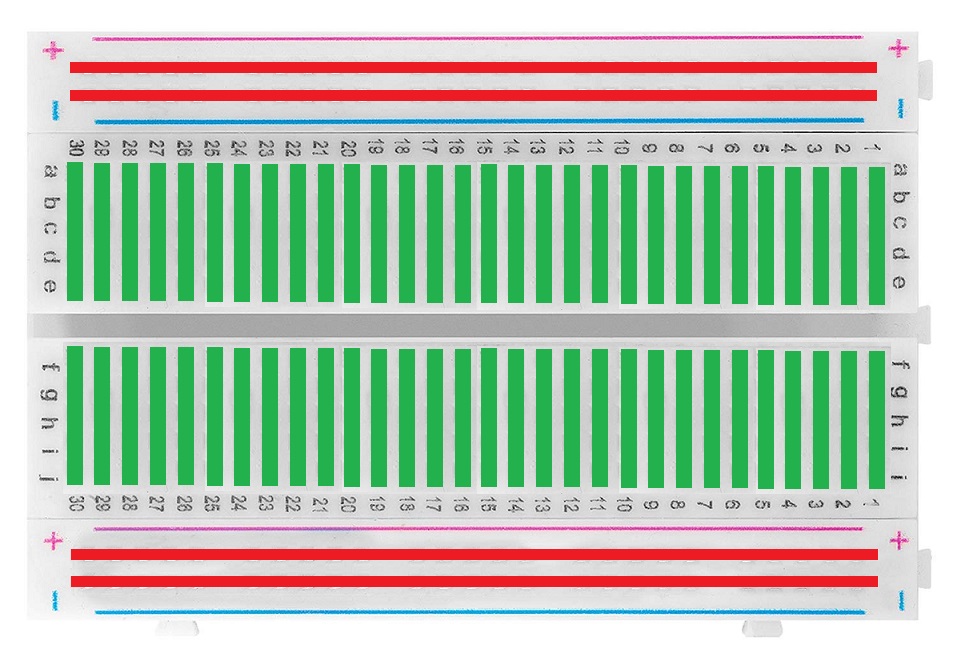
Breadboards come in different shapes and some are also modular, they can be connected together to increase their lenght or width. They are also reusable: to re-use it, simply remove the components plugged inside and insert new components. The schematics of a breadboard is shown Figure 2: the external lines are typically used for the energy supply and are long horizontal red lines, on the other hand the green lines in the center of the breadboard are vertical lines.
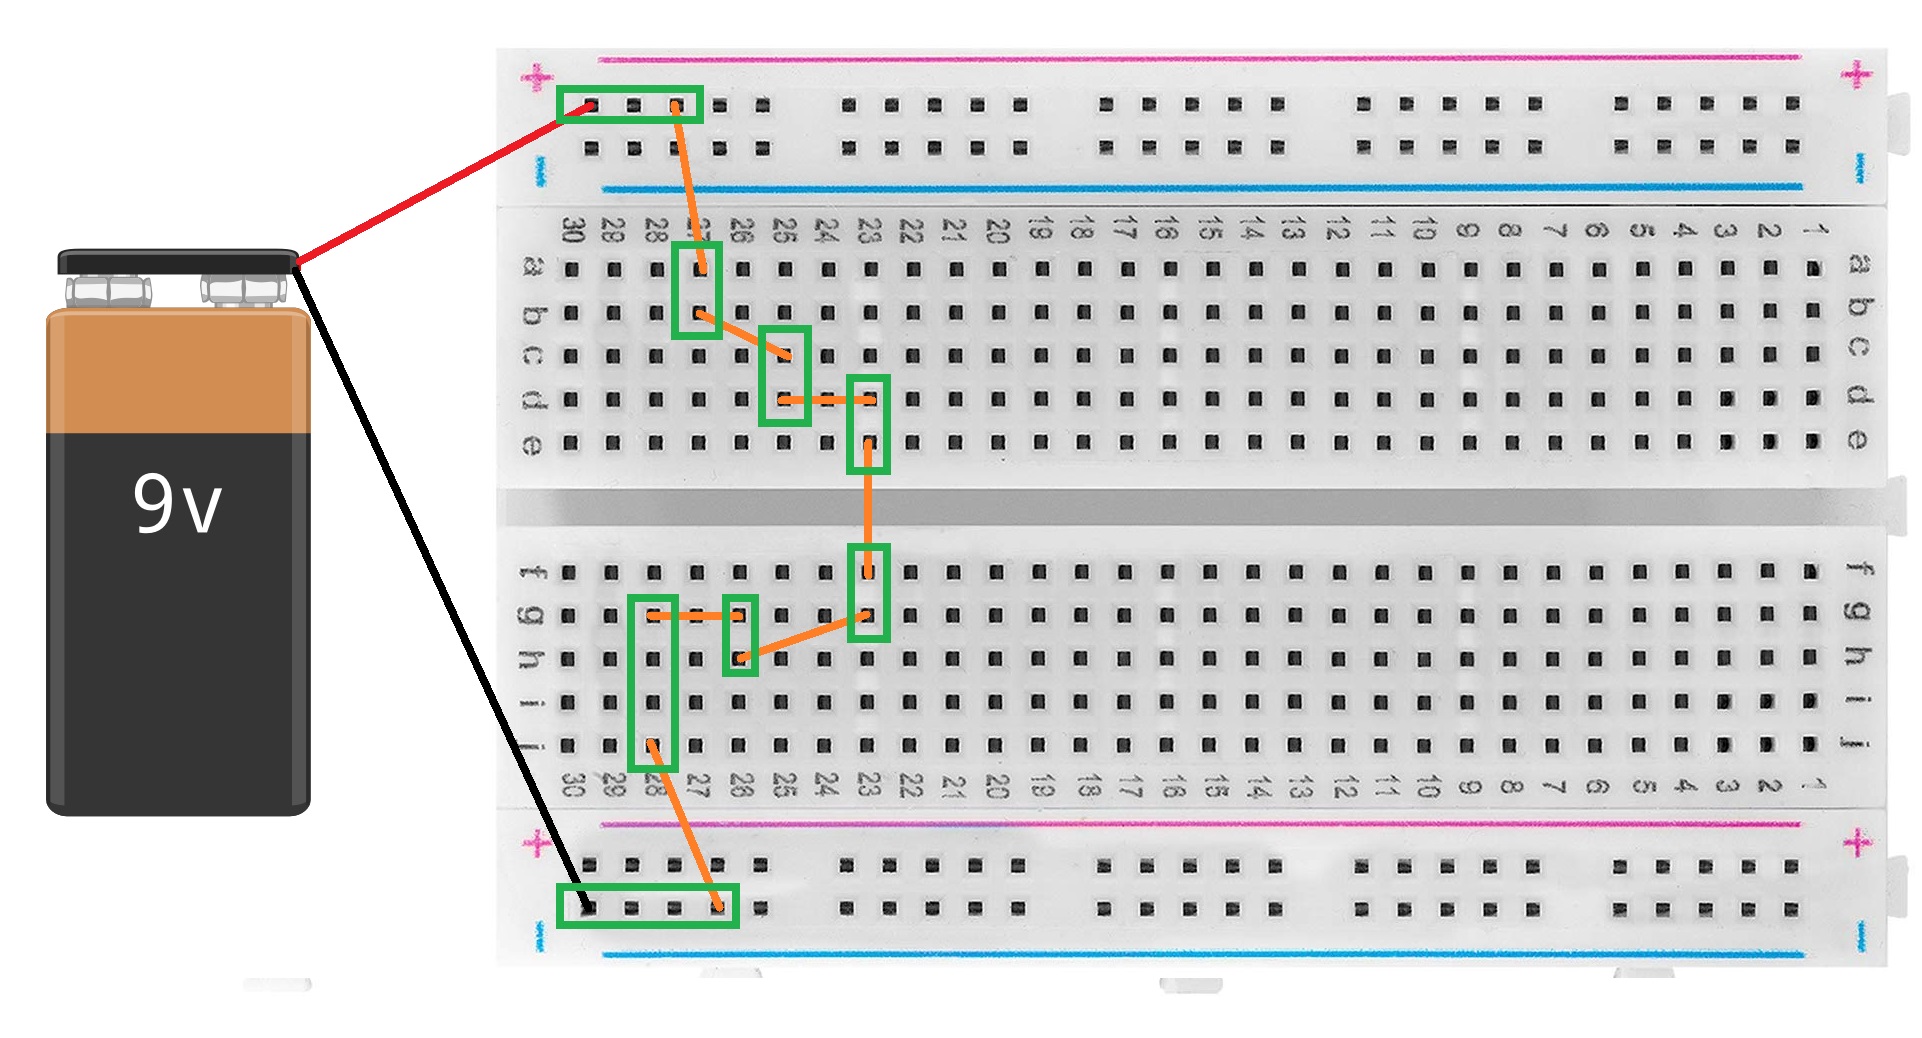
The two sides of each component cannot be inserted within the same line otherwise the electricity does not flow within the component: to create a closed circuit the components and the energy supply need to link these open lines. An example is provided in Figure 3 which shows a closed circuit with an energy source: the red and black lines are the positive and negative cables of the battery, as mentioned before the orange lines (which can be cables or components like resistors or capacitors) are connected horizontally on the edges of the breadboard and vertically in the center of the breadboard. The connections of the different lines is highlighted with green rectangles.
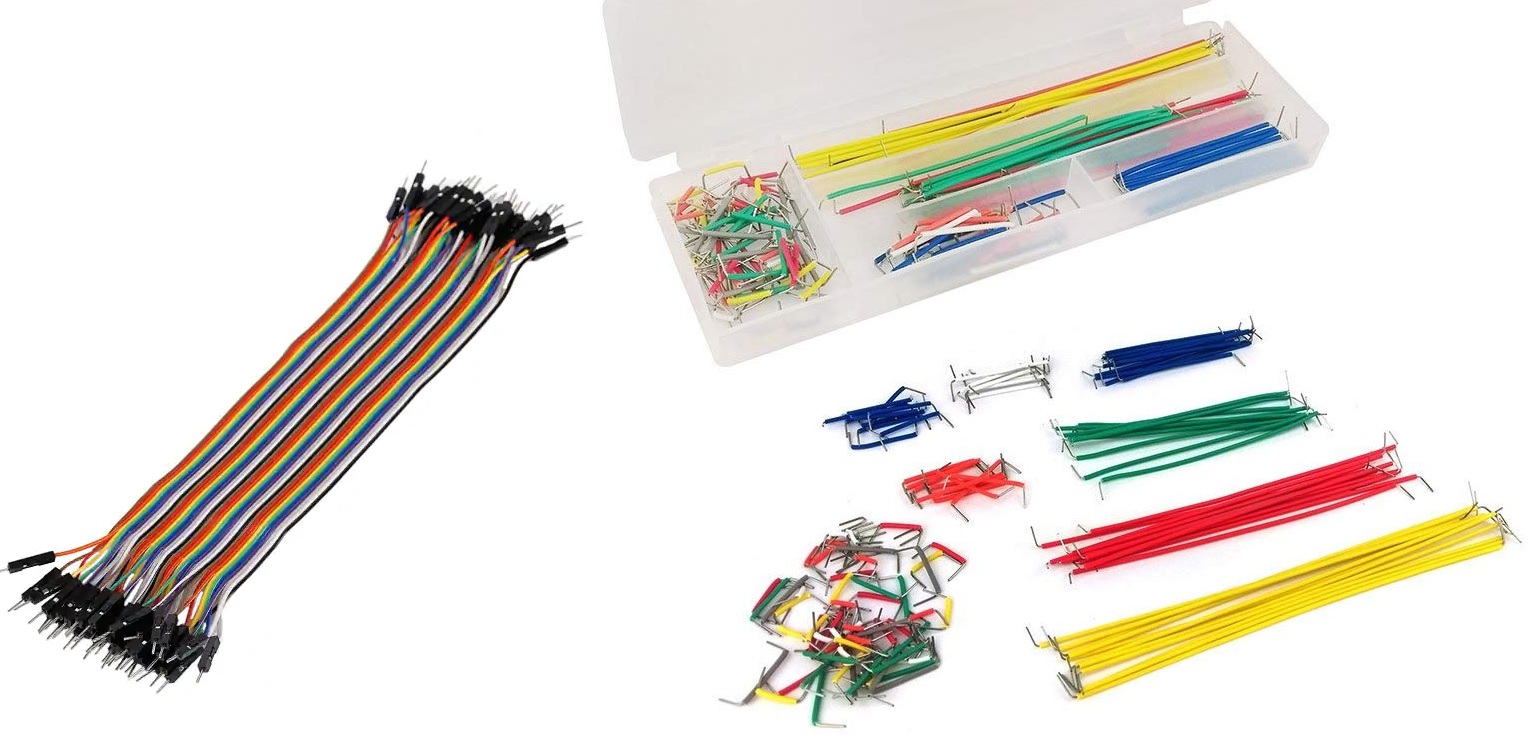
In case you want to try to use a breadboard, make sure you include some resistors in the closed circuit in order to limit the flow of current from the battery. Figure 4 shows the typical cables and jumpers used to create a circuit or link the different components on a breadboard, some are flexible while others are rigid but they have different lengths.